Coil - An Android image loading library


What is Coil?
Coil is an image loading library for android backed by kotlin coroutines, Coil stands for coroutine image loader, some of the features that this library provides is:
Fast: Coil performs a number of optimizations including memory and disk caching, downsampling the image in memory, re-using bitmaps, automatically pausing/canceling requests, and more.
Lightweight: Coil adds ~2000 methods to your APK (for apps that already use OkHttp and Coroutines), which is comparable to Picasso and significantly less than Glide and Fresco.
Easy to use: Coil's API leverages Kotlin's language features for simplicity and minimal boilerplate.
Modern: Coil is Kotlin-first and uses modern libraries including Coroutines, OkHttp, Okio, and AndroidX Lifecycles.
So Coil is not just a simple image loading library that lets you download an image from the Url into your android application, it also has a different kind of transformations that you can apply to your image.
So for example, we can have a corner radius for our image view, we can make our image view a circle, we can apply a blur to the image and we can even use some placeholders to show when our image is loading and also we can apply some fading animation.
Let's see some of the features mentioned above in action:
- First thing is you need to do is to copy this dependency in your project
implementation "io.coil-kt:coil:1.1.1"
- Before we continue using coil you need to check if you have internet permissions so be sure to add that in your Manifest.xml file.
<uses-permission android:name="android.permission.INTERNET"/>
- Then inside your project build.gradle file be sure to have this maven central repository as well.
repositories {
        google()
        jcenter()
        mavenCentral()
    }
- To demonstrate the use of coil i have added an imageView in my activity_main.xml layout file.
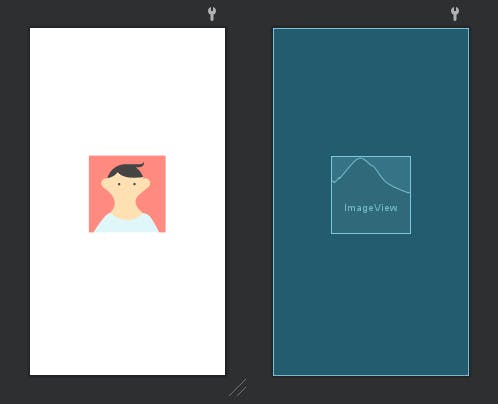
- Inside our main activity we're going to use this coil library so first we're going to get the reference of our image view and then we're going to use a method named load
class MainActivity : AppCompatActivity() {

    private lateinit var binding: ActivityMainBinding
    override fun onCreate(savedInstanceState: Bundle?) {
        binding = ActivityMainBinding.inflate(layoutInflater)
        super.onCreate(savedInstanceState)
        setContentView(binding.root)

        binding.imageView.load()
    }

}
- inside the parameters we need to paste the URL of our image and then run the app.
class MainActivity : AppCompatActivity() {

    private lateinit var binding: ActivityMainBinding
    override fun onCreate(savedInstanceState: Bundle?) {
        binding = ActivityMainBinding.inflate(layoutInflater)
        super.onCreate(savedInstanceState)
        setContentView(binding.root)

        binding.imageView.load("https://i.postimg.cc/xjvmWp05/lake-ultra-hd-4k-7f-2048x2048-1080x1080.jpg")
    }

}
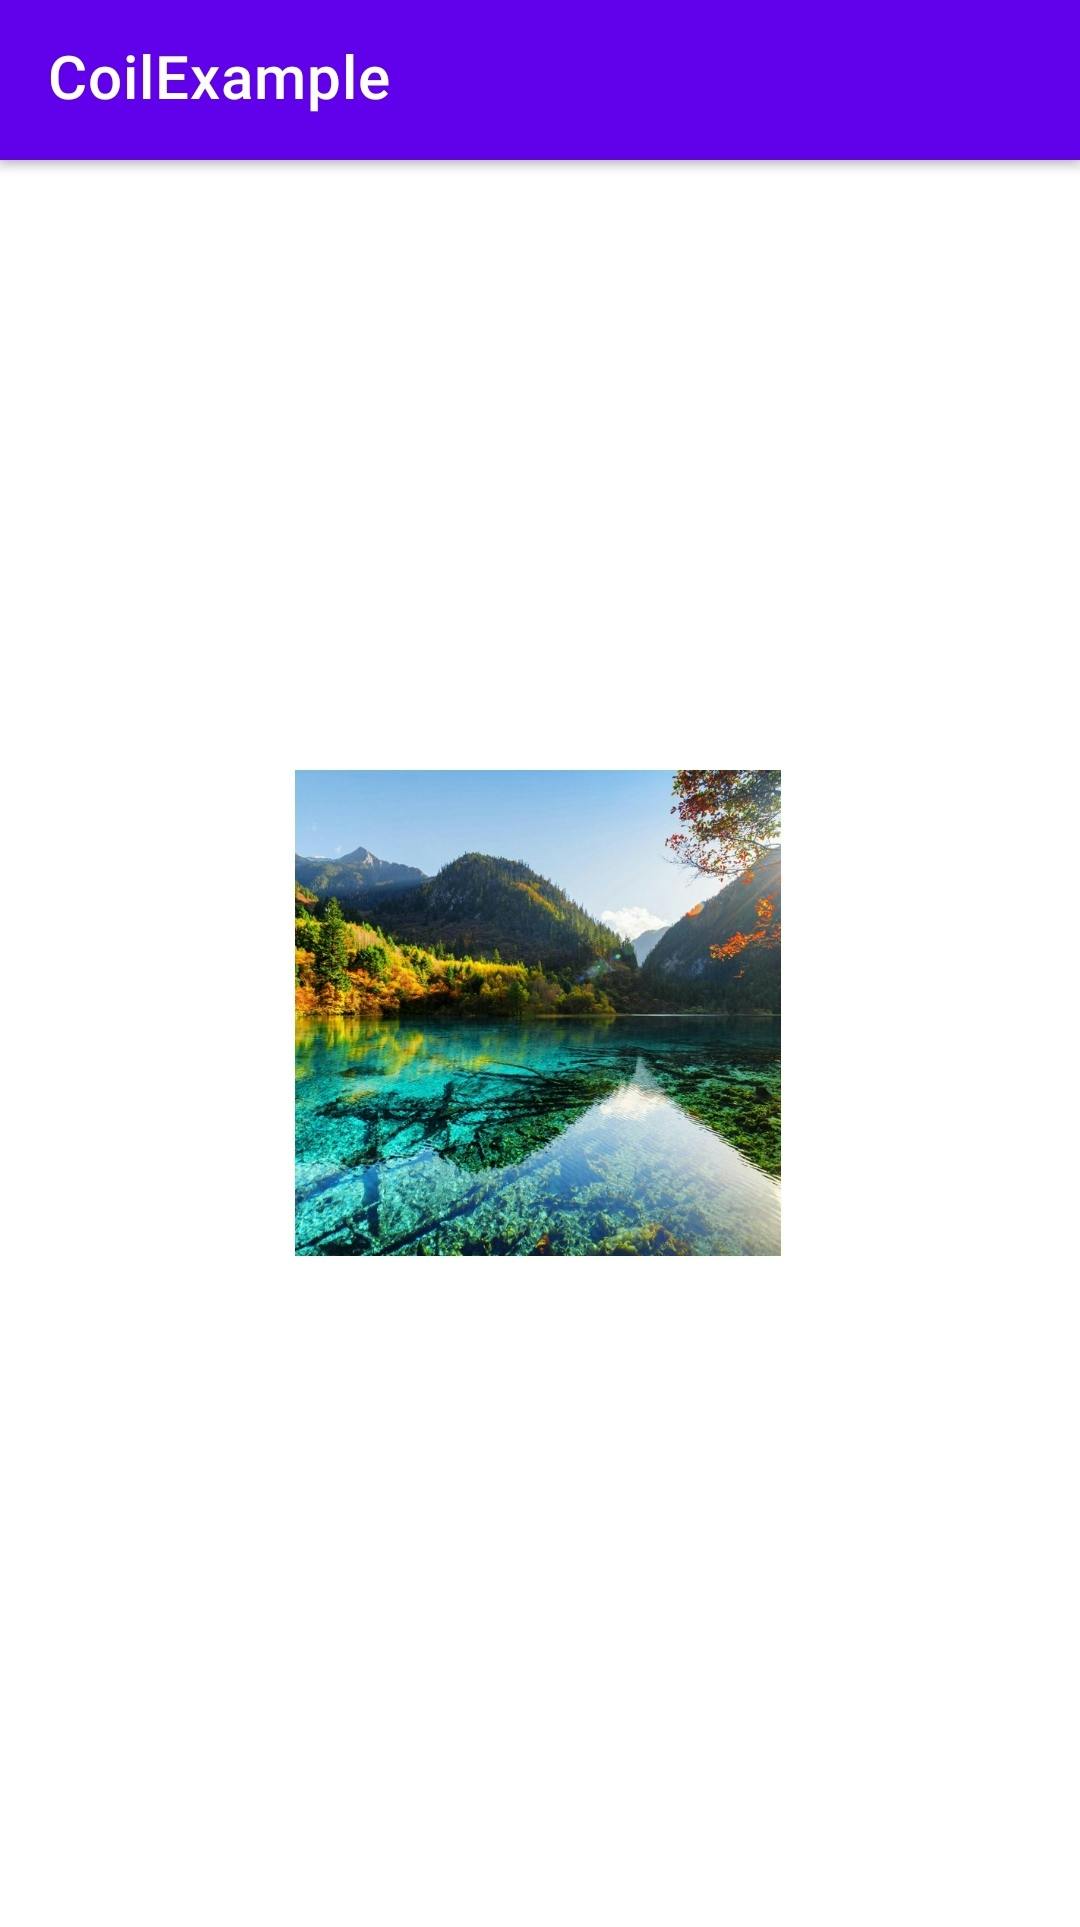
As you can see we did that with one line of code.
- now let me show you how to use a different kind of transformation with this library.
Let's start with crossfade Animation
binding.imageView.load("https://i.postimg.cc/xjvmWp05/lake-ultra-hd-4k-7f-2048x2048-1080x1080.jpg"){
            crossfade(true)
            crossfade(1000)
        }
In the code above i have set crossfade to true and increase the duration of the crossfade effect to 1000 milliseconds.
- Next, we will see how you can add a placeholder for the image, placeholder is basically an image that will show before this image is downloaded.
For this example, i have already added one placeholder image in the project
binding.imageView.load("https://i.postimg.cc/xjvmWp05/lake-ultra-hd-4k-7f-2048x2048-1080x1080.jpg"){
            placeholder(R.drawable.ic_placeholder)
            crossfade(true)
            crossfade(400)
        }

As you saw that the placeholder was shown successfully before our image and was downloaded.
- now I'm going to show you some different transformations which you can use
binding.imageView.load("https://i.postimg.cc/xjvmWp05/lake-ultra-hd-4k-7f-2048x2048-1080x1080.jpg"){
            crossfade(true)
            crossfade(400)
            transformations(RoundedCornersTransformation(30f))
        }

In the above code, i am using rounded corner transformation and inside the parameters, i have specified the radius for each and every corner or you can specify a radius for all corners together.
8.Next is the circle crop transformation this will make a circle out of our image
binding.imageView.load("https://i.postimg.cc/xjvmWp05/lake-ultra-hd-4k-7f-2048x2048-1080x1080.jpg"){
            crossfade(true)
            crossfade(400)
            transformations(CircleCropTransformation())
        }

- The last transformation i wanted to show you is the blur transformation for this we need to pass two parameters first is the ApplicationContext and the second is the radius.
binding.imageView.load("https://i.postimg.cc/xjvmWp05/lake-ultra-hd-4k-7f-2048x2048-1080x1080.jpg"){
            crossfade(true)
            crossfade(400)
            transformations(BlurTransformation(applicationContext,20f))
        }
That all for now, you can learn more about this library's features and capabilities on their Github repository give it a try.